반응형
[Javascript] 순수 자바스크립트 영역 캡쳐 후 이미지로 저장하기
- CSS
screenshot.css
/* 캡쳐 시 배경 어둡게 */
#screenshot_background {
	width: 100%;
	height: 100%;
	position: fixed;
	top: 0px;
	left: 0px;
	display: block;
	opacity: 0.3;
	text-align: center;
	box-sizing: border-box;
	z-index: 2147483647;
	border-color: black;
	border-style: solid;
}

/* 캡쳐 영역만 밝게 하기 위한 요소 */
#screenshot:before, #screenshot:after {
	border: none !important;
	content: "" !important;
	height: 100% !important;
	position: absolute !important;
	width: 100% !important
}

#screenshot:before {
	border-right: 1px solid white !important;
	border-bottom: 1px solid white !important;
	left: -100% !important;
	top: -100% !important
}

#screenshot:after {
	border-top: 1px solid white !important;
	border-left: 1px solid white !important;
	left: 0 !important;
	top: 0 !important
}

#screenshot {
	height: 100% !important;
	position: fixed !important;
	width: 100% !important;
	z-index: 2147483648 !important
}

/* 캡쳐 시 마우스 커서 모양 변경 */
body.edit_cursor {
	cursor: crosshair;
}
- HTML
<%@ page language="java" contentType="text/html; charset=UTF-8"pageEncoding="UTF-8"%>
<!DOCTYPE html PUBLIC "-//W3C//DTD HTML 4.01 Transitional//EN" "http://www.w3.org/TR/html4/loose.dtd">
<html>
<head>
	<meta http-equiv="Content-Type" content="text/html; charset=UTF-8">
	// 이미지 캡쳐 시 필요한 라이브러리
	<script src="https://html2canvas.hertzen.com/dist/html2canvas.min.js"></script>
	<link rel="stylesheet" type="text/css" href="./screenshot.css" />
</head>
<body>
	<input type="button" value="캡쳐" id="edit"/>
	<div style="width: 80%;">
		<img src="./images/aa.png">
	</div>
	<a id="target" style="display: none"></a>
<script>
window.onload = function(){
	// 캡쳐 버튼 클릭 이벤트 등록
	document.getElementById("edit").addEventListener("click", function(e){
		// 마우스 커서 모양 변경 (eidt_cursor 클래스 추가)
		document.querySelector("body").classList.add("edit_cursor");
		screenshot(e);
	});
}
/*
*
*/
function screenshot(e){
	var startX, startY;
	var height = window.innerHeight;
	var width = window.innerWidth;

	// 배경을 어둡게 깔아주기 위한 div 객체 생성
	var $screenBg = document.createElement("div");
	$screenBg.id = "screenshot_background";
	$screenBg.style.borderWidth = "0 0 " + height + "px 0";

	// 마우스 이동하면서 선택한 영역의 크기를 보여주기 위한 div 객체 생성
	var $screenshot = document.createElement("div");
	$screenshot.id = "screenshot";

	document.querySelector("body").appendChild($screenBg);
	document.querySelector("body").appendChild($screenshot);

	var selectArea = false;
	var body = document.querySelector('body');

	// 마우스 누르는 이벤트 함수
	var mousedown = function(e) {
		e.preventDefault();
		selectArea = true;
		startX = e.clientX;
		startY = e.clientY;
		// 이벤트를 실행하면서 이벤트 삭제 (한번만 동작하도록)
		body.removeEventListener("mousedown", mousedown);
	}
	// 마우스 누르는 이벤트 등록
	body.addEventListener("mousedown", mousedown);

	// 클릭한 마우스 떼는 이벤트 함수
	var mouseup = function(e) {
		selectArea = false;
		// (초기화) 마우스 떼면서 마우스무브 이벤트 삭제
		body.removeEventListener("mousemove", mousemove);
		// (초기화) 스크린샷을 위해 생성한 객체 삭제
		$screenshot.parentNode.removeChild($screenshot);
		$screenBg.parentNode.removeChild($screenBg);
		var x = e.clientX;
		var y = e.clientY;
		var top = Math.min(y, startY);
		var left = Math.min(x, startX);
		var width = Math.max(x, startX) - left;
		var height = Math.max(y, startY) - top;
		html2canvas(document.body).then(
			function(canvas) { //전체 화면 캡쳐
				 // 선택 영역만큼 crop
				var img = canvas.getContext('2d').getImageData(left, top, width, height);
				var c = document.createElement("canvas");
				c.width = width;
				c.height = height;
				c.getContext('2d').putImageData(img, 0, 0);
				save(c); // crop한 이미지 저장
			}
		);
		body.removeEventListener("mouseup", mouseup);
        // 마우스 커서 기본으로 변경
		document.querySelector("body").classList.remove("edit_cursor");
	}
	body.addEventListener("mouseup", mouseup);

	// 마우스무브 이벤트 함수
	function mousemove(e) {
		var x = e.clientX;
		var y = e.clientY;
		$screenshot.style.left = x;
		$screenshot.style.top = y;
		if (selectArea) { //캡쳐 영역 선택 그림
			var top = Math.min(y, startY);
			var right = width - Math.max(x, startX);
			var bottom = height - Math.max(y, startY);
			var left = Math.min(x, startX);
			$screenBg.style.borderWidth = top + 'px ' + right + 'px ' + bottom + 'px ' + left + 'px';
		}
	}
	body.addEventListener("mousemove", mousemove);

    // 캡쳐한 이미지 저장
	function save(canvas) {
		if (navigator.msSaveBlob) {
			var blob = canvas.msToBlob();
			return navigator.msSaveBlob(blob, '파일명.jpg');
		} else {
			var el = document.getElementById("target");
			el.href = canvas.toDataURL("image/jpeg");
			el.download = '파일명.jpg';
			el.click();
		}
	}
}
</script>
</body>
</html>
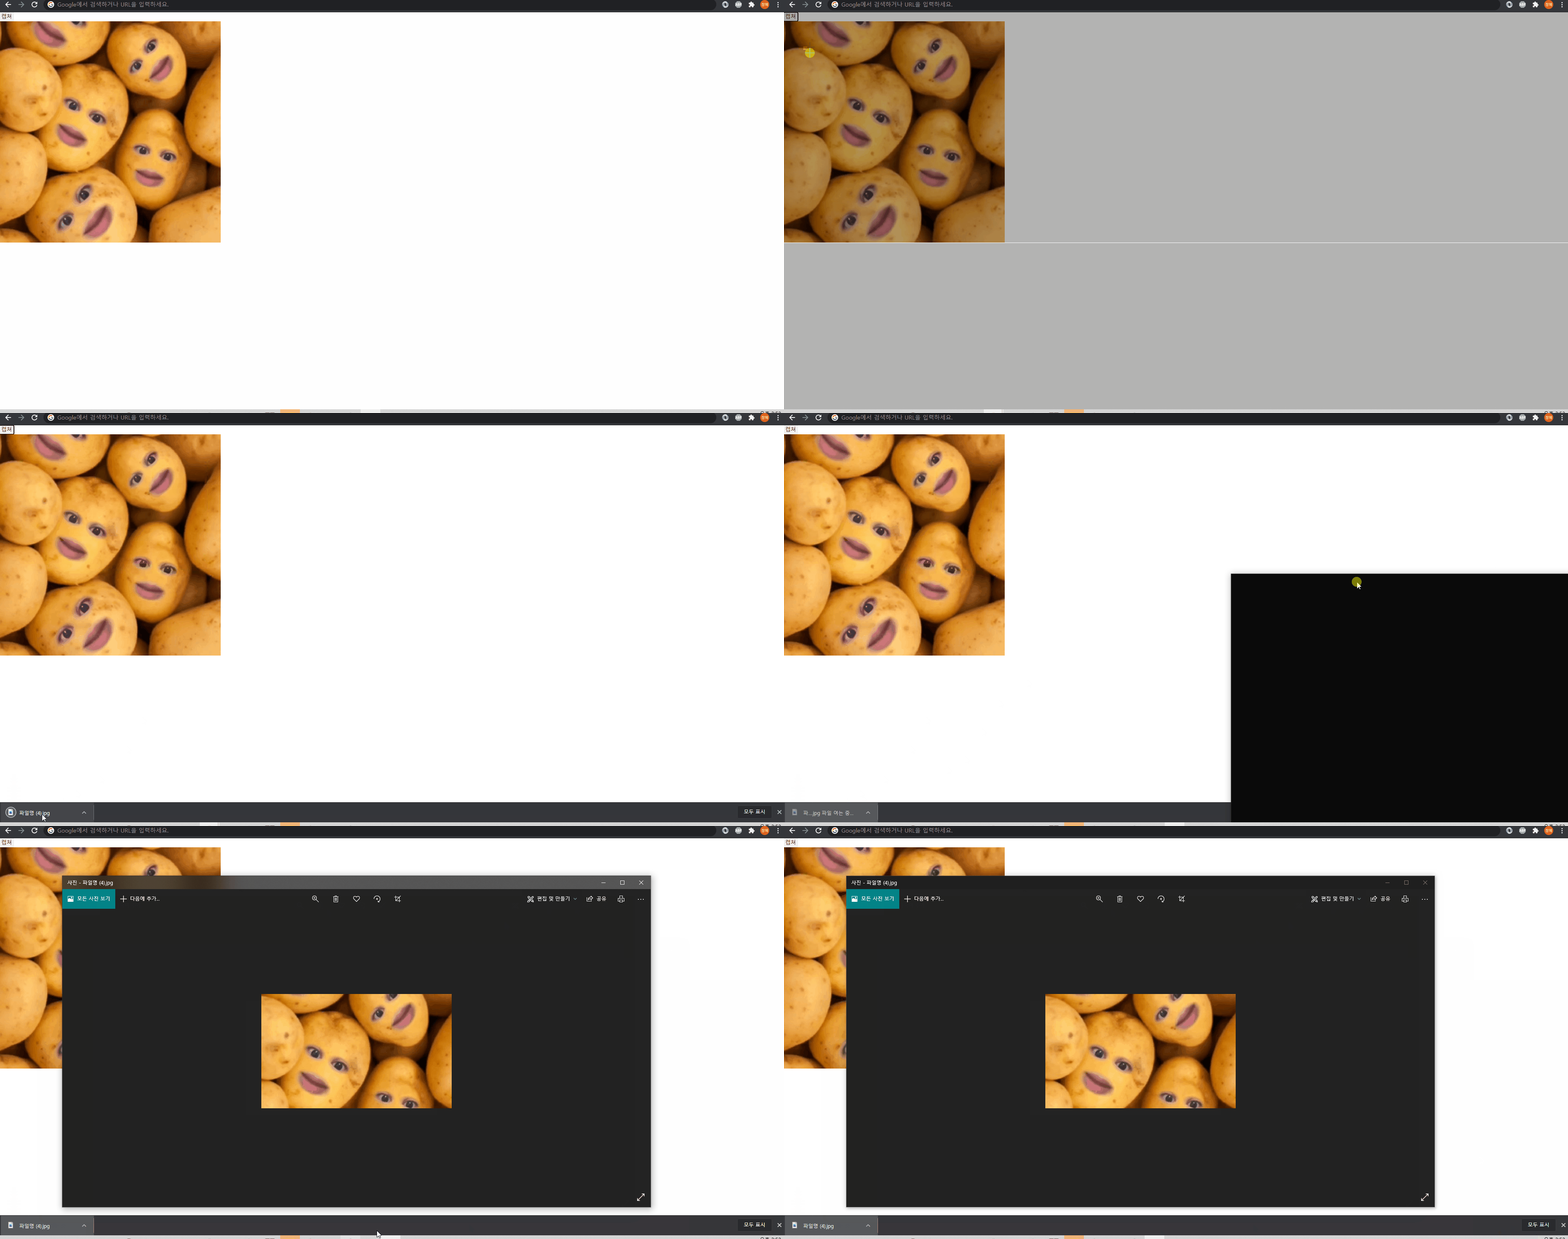
- 결과 화면

gif 화면이 버벅거린다면 클릭해서 보세요~
728x90
반응형
'Front > JavaScript' 카테고리의 다른 글
| [Javascript] Array.prototype.every( ) - 배열의 반복메서드 : break 문 활용하고 싶다? (0) | 2021.02.09 |
|---|---|
| [Javascript + CSS3] 화면 스크롤 내릴 때, 이미지 객체 FadeIn 효과 표출 간단하게 구현하기 (2) | 2020.10.26 |
| [JavaScript] 자바스크립트 변수(var/let/const) 선언 방식의 차이 (1) | 2020.08.12 |
| [JavaScript] 자바스크립트 빈 객체 확인하는 방법 (0) | 2020.06.20 |
| [JavaScript] addEventListener callback Function이 즉시 실행된다 ? (0) | 2020.02.25 |


댓글